Establishing the Base
Assembly and adjustment of the base for a Juliana Greenhouse
Greenhouse on a Foundation
To achieve the best end result, it is crucial to assemble the foundation with great care.
Watch the video and learn how to best assemble and adjust the foundation for your greenhouse.The example in the video may differ from your greenhouse. These are overall guidelines for foundation assembly. For exact assembly, see the included instructions.
Alternatively, you can follow the written guide below.
NB! For bigger greenhouses, see another method in the assembly instruction.
Step 1
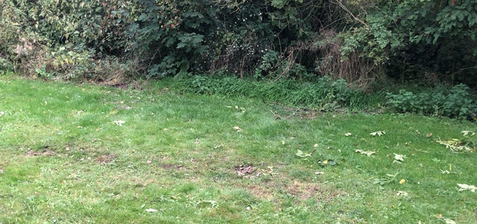
Readying the Area
Start by preparing the area where the greenhouse will be erected. Make sure the area is cleared, even and levelled off.
Step 2
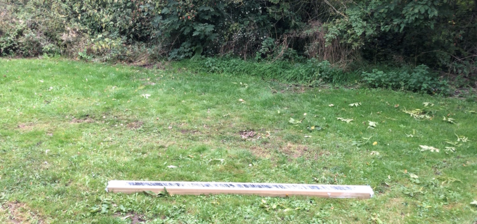
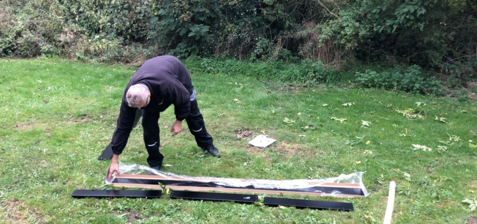
Take the Foundation and Start Unpacking
Take the foundation to the place where it is intended. Assess already here whether the space is sufficient and whether the surface is even. Unpack your foundation, being careful not to scratch items.
Step 3
Check the Model and Size
Check that your foundation is the correct size and is free of damage. At the same time, check whether all parts are present. (note that some models may have parts for use in the foundation which are found elsewhere in the delivery). Check the assembly instructions.
Step 4
Check the Base Dimensions
Make sure that the base dimensions are correct before assembling and casting it in place.The dimensions are found in the assembly instructions.
Step 5
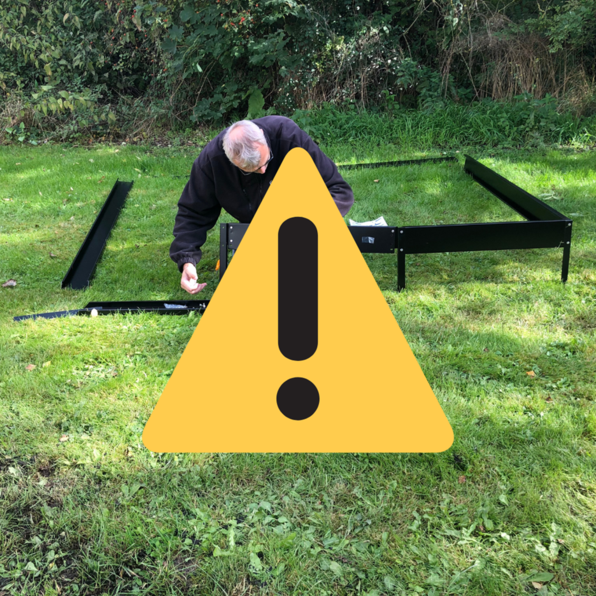
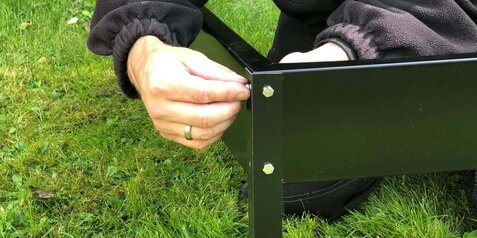
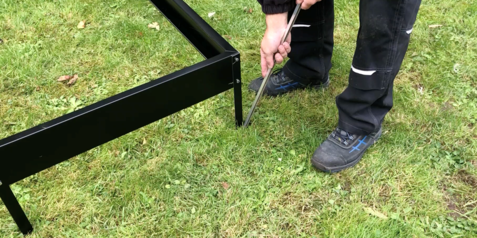
Assemble the Base
Assemble the base with the included anchor legs.
For bases bigger than 9 m2, additional anchor legs must be attached to the inner surface of the side sections (using the long bolts).
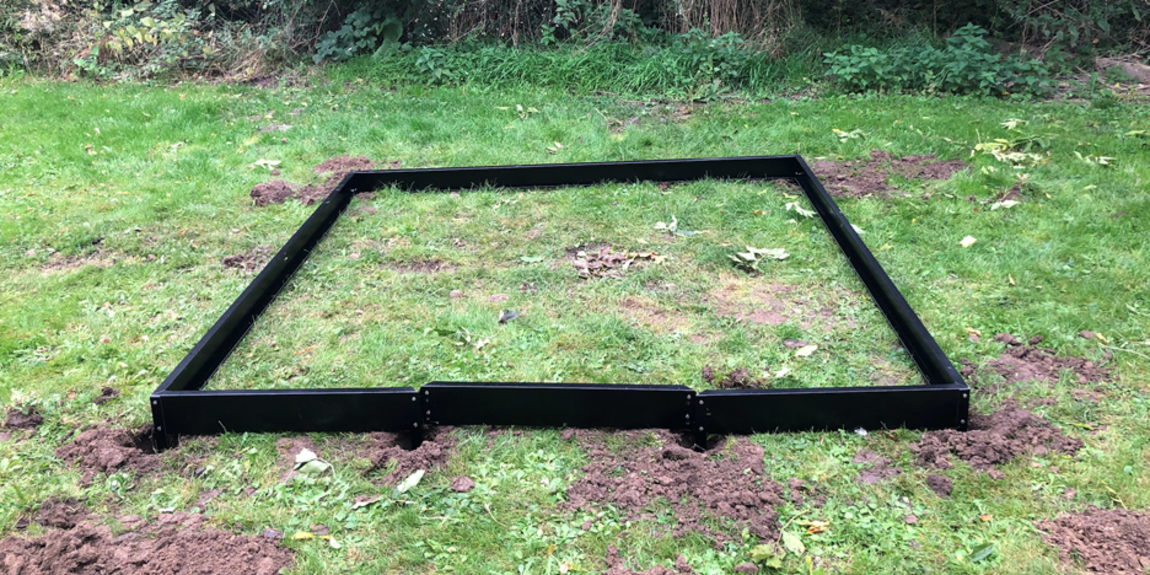
Step 6
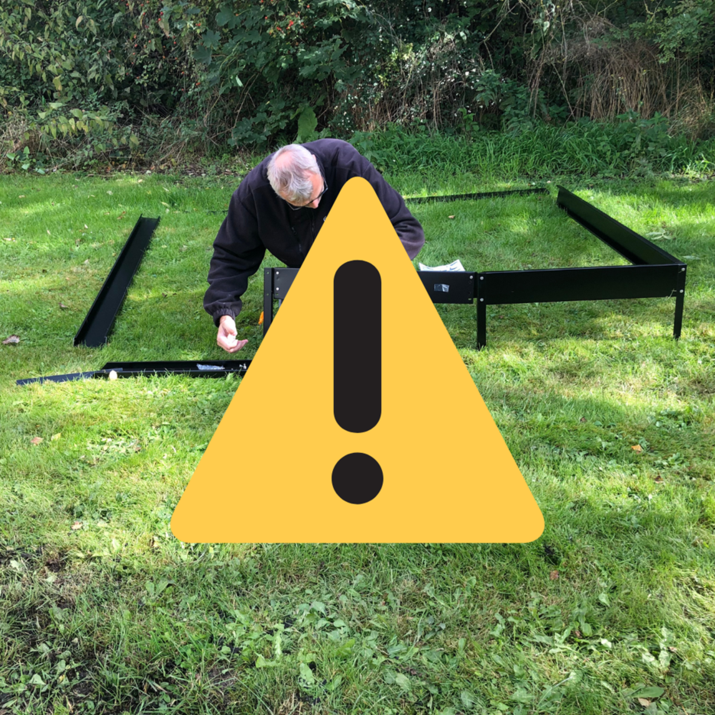
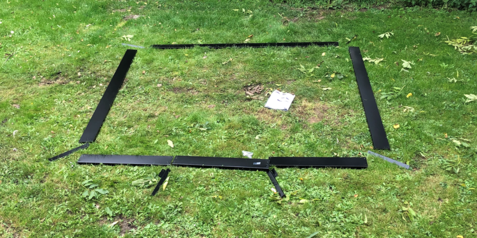
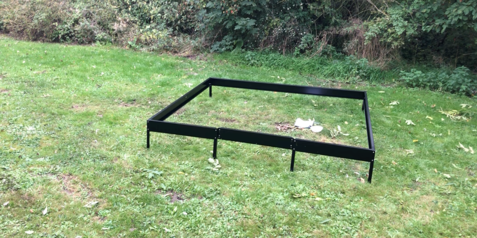
Position the Base
Lay out the base components on the area where you plan to erect the greenhouse.
Step 7
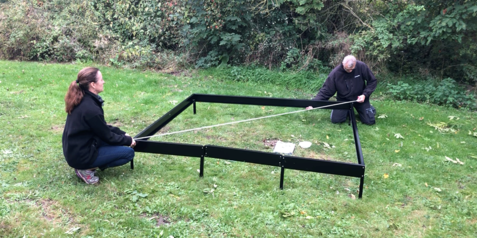
Take Diagonal Measurements
Measure the base diagonally to square it. The two diagonal measurements must be equal.
Step 8
Mark Out the Corners
Insert a stick in the ground for each anchor leg so you know exactly where to dig/bore. Then remove the base frame.
Step 9
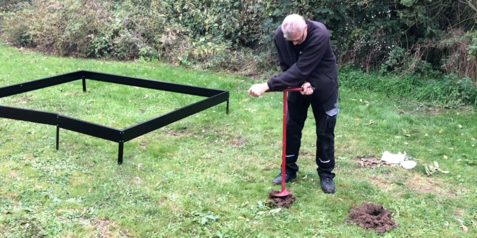
Bore/Dig Holes
Dig or bore holes at the spots where you are going to cast anchor legs. The holes must be dug down to frost-free depth.
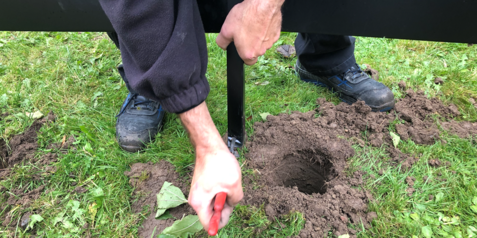
Step 10
Bend the Anchor Leg
Before inserting the anchor leg into the ground, bend the end to give it a better grip when cast in cement.
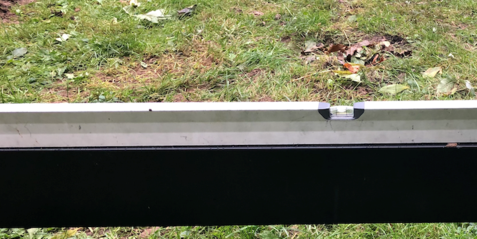
Step 11
Ensure that the Base is Level and Double-check Diagonal Measurements
Level off the base and re-measure it diagonally to make sure it is square.
Do this very carefully because otherwise it will be difficult to assemble and glaze (with glass or polycarbonate) if these measurements are not correct.
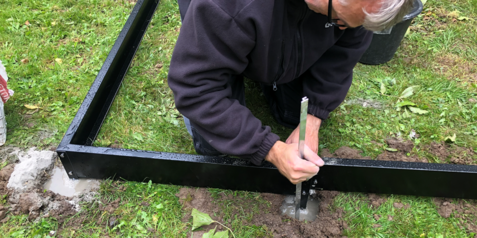
Step 12
Pour Cement in the Holes and Let it Set
Pour cement by the anchor leg and let it set for 24 hours or so.
Add just the right amount of water to the cement mixture. The less you add, the stronger the cement.
Transform Your Greenhouse Life
Are you looking for fresh inspiration to transform your greenhouse life into a lush paradise? Let's explore new ideas and tips together that will make your green haven even more magical!


JULIANA GROUP
Juliana Group is a leading global supplier of quality residential greenhouses. Founded in 1963 by Mogens A. Stærmose in Odense, Denmark, the family-owned company is today run by third generation, Nikolaj Stærmose. Headquarter and production remains Odense-based with subsidiaries in the UK and Germany and export to more than 20 countries.
’We help people grow’. That is why our brands Halls, Juliana, and Gabriel Ash all set the frame for experiences that are as natural as they are magical. Despite our long history, we’re future-focused and curious on how we can improve the sustainability of our greenhouses. Learn more about Juliana and find inspiration for life in the greenhouse in our inspirational universe.